

Spinach is one of those foods that you hate at first before you realize that it’s actually pretty tasty. And now you can have an unlimited supply of it. Because yes, you read that right. You can grow a whole new batch of spinach just by using scraps from your previous harvest. No need for seeds.
It’s not only an economical way of using spinach that will reduce your food waste, but it’s also a fun project that will result in a fresh batch of spinach in just under a month. Let’s take a look at how you can grow spinach from cuttings, without seeds.
How to Grow Spinach from Cuttings, Without Seeds
Before we look at the step-by-step guide, let’s talk about what you’ll need to grow spinach from cuttings. Don’t worry, you wouldn’t need any fancy equipment or gardening skills.
First thing first, you’ll need some spinach cuttings with roots still attached. It’s definitely possible to do this with just the stems, but it’ll require more luck.
You’ll also need a pot or container and potting soil. The spinach will grow in just under 20 days on average and in pretty much any soil mix. There’s no need for any special mixes, but it certainly doesn’t do any harm to give your plant that extra boost of nutrients. However, you should rather use potting mix than garden soil. Garden soil and potting soil are very different, and garden soil can get too compacted and could suffocate the roots of your spinach.
You’ll, of course, need to water your plant. But that’s really it.
1. Prepare Soil and a Pot
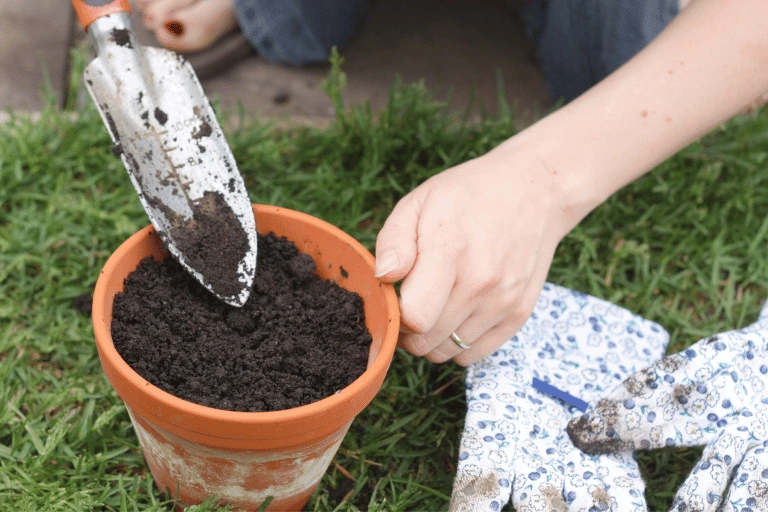
To get started with growing spinach from cuttings, the first thing you’ll need to do is prepare the soil and pot.
Choose a container that is neither too small nor too big. In general, spinach roots tend to be relatively shallow and only extend a few inches below the surface of the soil. They also don’t spread too wide.
Generally, a pot with a depth of at least 10 inches (25 centimeters) should be sufficient to accommodate most spinach scraps.
When it comes to the width of the container, a good rule of thumb is to aim for a container that is at least twice the width of the cuttings. So if you have a bunch of cuttings that are together 4 (10 centimeters) inches wide, choose a container that is at least twice that width, in this case, 8 inches (20 centimeters). This will give each plant enough space to spread out its roots and grow without crowding the other plants in the container.
But don’t limit yourself. The goal is to provide each cutting with enough space to grow and develop without competing for resources with other plants in the container.
Then fill the container with the prepared potting soil. Make sure not to push it in to keep the air bubbles.
2. Prepare the Spinach Cuttings

The second step in growing spinach from cuttings is to prepare the cuttings themselves.
Select healthy, vibrant, and fresh spinach with roots still intact. Then cut the spinach a few inches above the roots.
To give your spinach the best possible chance of taking root and growing into healthy plants, I recommend soaking the roots in water for a few hours before planting them in the soil. This process can help to hydrate the roots and make it easier for them to take hold of the soil. As you soak the cuttings, you may notice small root nodules starting to form on the sides.
3. Plant the Spinach Cuttings in the Soil
Now that you have prepared your soil and the spinach, it’s time to plant it in the soil.
Using your finger or a tool, make a small hole in the soil that is deep enough to cover the roots of the cutting.
Place the cutting into the hole, making sure that the roots are completely covered. You can gently press down around the cutting to ensure that the soil is compacted enough to hold it in place but be careful not to press it too tightly, you want to keep the oxygen and nutrients flowing around the roots.
4. Water the Soil
Once you have planted all of your spinach cuttings, water the soil thoroughly to help settle the plants in and encourage their roots to take hold.
Be careful not to overwater it. The spinach is still very weak.
5. Place the Container in a Sunny Location
Once you have planted your spinach cuttings, it’s important to choose the right location for your container.
Spinach plants need plenty of sunlight to grow and thrive, so it’s best to place your container in a sunny location where it will receive at least 6 hours of direct sunlight per day. South-facing windowsills or a sunny spot on your balcony or patio are great options.
Keep in mind that spinach also prefers cooler temperatures, so avoid placing your container in a location that gets too hot, such as near a heat source or in direct sunlight during the hottest part of the day.
6. Water the Soil Regularly
Water the pot once the soil becomes dry, in my experience, that will be every two to three days.
When watering, be careful not to overwater or underwater, as both can be detrimental to your plants’ health. Overwatering can lead to root rot, while underwatering can cause the leaves to wilt and stunt growth.
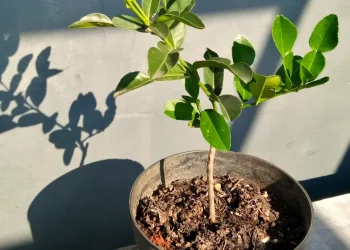
7. Harvest the Spinach and Enjoy!

After about one month, your spinach plants should be ready for harvesting.
It will take approximately one week before the cuttings start growing. After that, it will highly depend on the conditions, such as temperature or nutrients, before fully grown.
Once the leaves are dark green and fully grown, you can begin to pluck them from the stem. Simply pinch off the outer leaves, leaving the inner leaves to continue growing. As you continue to harvest, the plant will produce more leaves, and you can enjoy fresh spinach for several weeks.
Harvest your spinach in early morning. At that time the leaves are the most hydrated and fresh!
Before you go…
It sounds like a dream, right? Instead of tossing the spinach scraps away, you use them to grow another batch of spinach. But eating only spinach would be boring, don’t you think? You can’t even make a salad with just one ingredient. That’s why you should check my other guide on growing turnips from scraps…


