
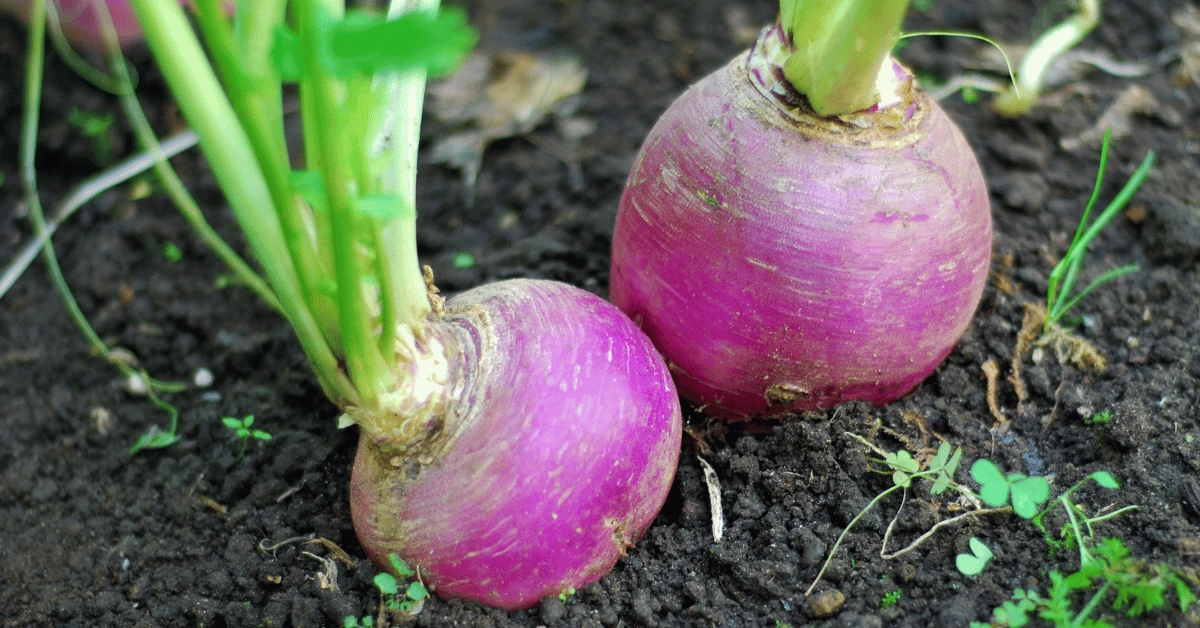
In my country, turnips are not that common in grocery stores. You can find plenty of beets and other root vegetables, but not turnips. That’s also why I was very pleasantly surprised when I find out that you can very easily grow turnips from scraps without seeds needed.
Learning to grow turnips from scarps is not only an economical way of reducing your food waste, but it will give you a nearly unlimited supply of this tasty root vegetable.
What are the Benefits of Turnips? Why Grow them from Scraps?
Believe it or not, turnips are like little powerhouses of nutrition, packed with essential vitamins and minerals. They are a great source of vitamin C, which supports our immune system. And also other vitamins, especially B, E, and vitamin K. Also a smaller amounts of vitamin A (but most of all vegetables). They also contain plenty of minerals, which may be harder to get from your normal diet, including manganese, potassium, phosphorus, magnesium, calcium, iron, and zinc.
It’s bursting with the healthy stuff, so even if you don’t like the taste of turnips, it’s worth adding to smoothies and shakes.
Benefits of Turnips
- Rich in vitamins
- High in fiber
- Low in calories
- Antioxidant properties
- Can be used all around your kitchen
But why go through the process of growing turnips from scraps when you can buy them relatively cheaply at the store?
Firstly, it’s a sustainable practice that reduces food waste, giving a second life to those turnip scraps that would have otherwise been tossed away. Which also saves you money.
Secondly, growing turnips yourself from scraps gives you better control over the quality of your produce, ensuring it’s grown without harmful chemicals or pesticides. When regrowing a turnip from a store-bought one that was chemically sprayed, the chemicals may persist in subsequent regrowths. But a few regrowths later, you’ll be eating BIO turnip as it gets.
Plus, there’s something incredibly satisfying about tending to a plant from its beginnings and watching it grow and thrive over time. It’s a rewarding experience that connects you to nature.
How to Grow Turnips from Scraps
Before we dip our hands into the pots with soil, let’s quickly gather the essentials. Don’t worry, we won’t be needing any fancy equipment or advanced gardening skills.
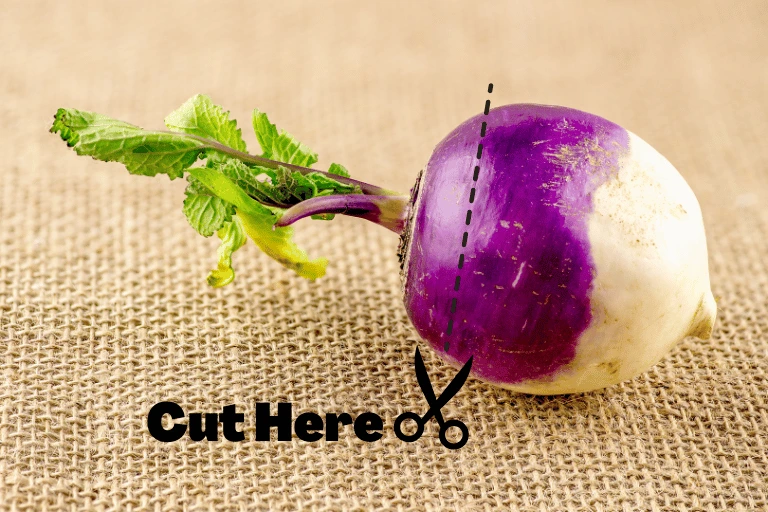
Firstly, you’ll need some turnip scraps. We’re not looking for any roots. You just need a few inches from the top of the turnip, ideally with the leaves still intact.
Turnips, like all root vegetables, are quite easy to propagate. You don’t even need to stimulate the root growth in water. It’s a way to higher the chances for your plant to thrive, but you can put the turnip cutting into the soil right away. Turnips are pretty resilient and can thrive in various soil mixes, so no need for special mixes. But it certainly doesn’t do any harm to give your plant that extra boost of nutrients.
Of course, watering is a crucial part of any plant’s life. But that’s really it. Let’s take a look at a step-by-step guide.
1. Prepare the Turnip Scraps
The first step in growing turnips from scraps is to select healthy turnips that have the highest chance for a second life.
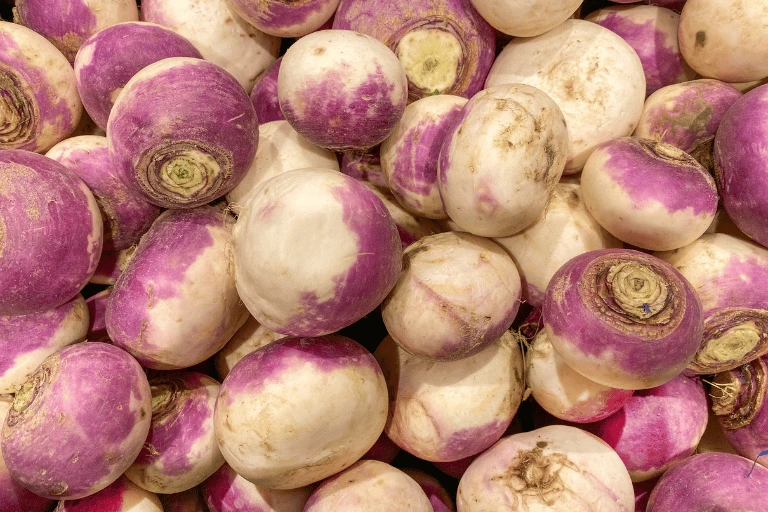
Look for turnips that are firm, plump, and have smooth skin. Avoid squishy, wrinkled turnips or those with visible signs of decay.
Although you can definitely use old scraps, I recommend starting with fresh turnips to give them the best chance. With the turnip berry in your hand, cut it approximately at least 1 inch (2.5 centimeters) from the top. This section includes the crown and any remaining leaves. You can eat the other part.
Soaking the preserved top part of the turnip in water is not necessary before planting. Unlike some other plant cuttings that benefit from water propagation – for instance, spinach needs to be soaked for at least a few hours to stimulate roots, turnip scraps do not require pre-soaking.
2. Prepare Soil and a Pot
For turnip to thrive, you should choose a container that is neither too small nor too big. In general, turnip roots do not expand that much, typically ranging only a few inches in diameter.
As a general rule of thumb, when growing turnips, aim for a pot size that provides at least 6-8 inches (15-20 cm) of depth and a diameter of around 8-10 inches (20-25 cm) per turnip plant – the larger ones.
This is just a recommendation for an ideal distribution. I wouldn’t be too afraid to choose a pot that is slightly smaller than that. But it is definitely better to have a container that is too big than too small.
And finally, fill your selected pot with well-draining soil, ideally rich in organic matter. Make sure not to push it in too hard to keep the air bubbles.
3. Plant the Turnip Cuttings in the Soil
Now it’s time to make the most crucial step. It’s time to plant the turnip scraps in the soil.
Use your finger, or really any tool you can find to create a small hole in the soil. The Hole should be deep enough to accommodate the turnip cutting as a whole – only the leaves should be left above the ground.
Place the cutting into the hole and gently backfill the hole with soil, pressing it down around the turnip. Just gently to not compact the soil too tightly – you want the oxygen and water to flow freely around the plant.
4. Water the Soil
Once you have planted your turnip, water the soil thoroughly. This initial moisture helps kickstart the regrowth process and provides a welcoming environment for our turnip to thrive.
Don’t forget to water the soil regularly. You want to strike a balance. Keep consistent moisture without overwatering. Typically, in most growing conditions, watering every 2-3 days is a good starting point.
5. Place the Container in a Sunny Location
The container with your planted turnip cuttings should be placed in a sunny location. Turnips thrive in full sunlight, so choose a spot where they can soak up the warmth and energy from the sun’s rays.
If you are growing turnips indoors, place the container near a sunny window or under grow lights that provide the required amount of light and be sure to rotate the container periodically.
Ideally, you want your turnips to get at least 6-8 hours of direct sunlight each day.
6. Harvest Grown Turnips and Enjoy!
Depending on the growing conditions, on average, turnips take approximately 45 to 60 days from the time of planting to reach maturity.
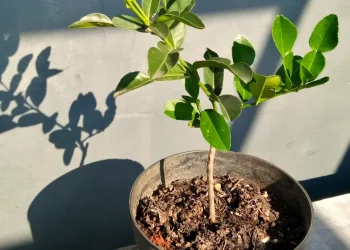
It typically takes about one to two weeks for the turnip cutting to start growing. During this initial stage, the turnip establishes its roots and adapts to its new environment.
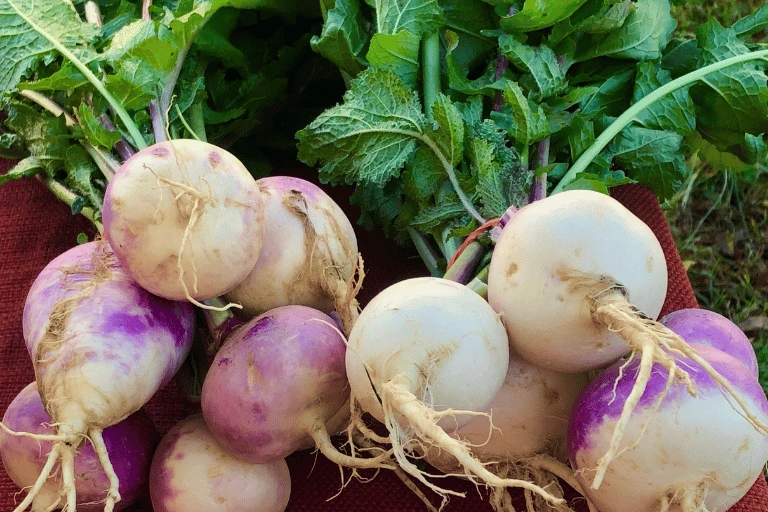
After a few weeks, you’ll notice new baby leaves sprout. The leaves will be the biggest indicator that the plant has reached maturity and your turnip is ready to be harvested.
First, these leaves will have a vibrant green color. But over the course of those 45 to 60 days, they will darker. Once the turnip has a large, dark green foliage and the turnip is big enough, it’s time for harvesting!
To harvest your turnips, gently loosen the soil around the base of the plant and lift the turnip out of the soil.
Before you go…
Growing turnips from scraps is a fun and easy way to always enjoy fresh vegetables. Turnips have this specific spicy taste when eaten raw, but have you ever tried to pickle them? That’s, in one word DELICIOUS. I know one thing that can’t be missed in any pickling liquid – mustard seeds. They are fairly easy to grow too, whether in the garden or in containers. Make sure to check out my article about that…
Planting Mustard Seeds from the Grocery Store? Yes & Here’s How


